Prerequisites
This guide assumes the following…
- A running Plex instance with Tailscale connectivity
- Access to a cloud provider (free tier or paid)
- Basic familiarity with Tailscale
- A registered domain name
Use Case
Sharing a Plex server with friends and family presents unique challenges. While sharing via Tailscale works for tech-savvy users, it becomes cumbersome when dealing with smart TVs or my not so technical parents.
I had previously used Cloudflare tunnels to expose services like mealie, bluesky personal data server, and even this blog. However, potential TOS concerns with Plex led me to seek alternatives.
Rather than port forwarding at home, I opted for a VPS solution with a public IP address that could communicate with my tailnet machines.
I also wanted to maintain a centralized ingress point into my Kubernetes cluster for all of the services I expose. I currently use ingress-nginx as my ingress controller, but traefik, or any other flavor of ingress controller, would work too.
A single entry point allows me to gather metrics via prometheus and visualize it with grafana to get the satisfaction of watching the numbers go up, and additionally let me set up crowdsec for monitoring.
I didn’t realize until after installing crowdsec in my cluster that my version of ingress-nginx was not supported.
I also found out that crowdsec doesn’t support oracle linux yet.. bummer.
The Virtual Private Server
I wasn’t opposed to paying a few bucks per month for a small vps, but I figured I would give oracle free tier a shot first since there was nothing to lose but time.
I quickly found out that with a free tier account you are going to have a hard time actually provisioning an instance. I ended up upgrading my account to the pay as you go tier to get around this.
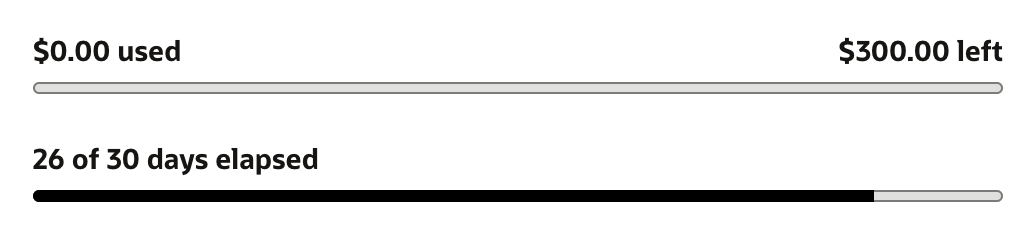
For oracle cloud, to keep within the free tier limits, I used the VM.Standard.A1.Flex shape, and the resources were 1 OCPU x 6GB Memory.
After 26 days, I still haven’t actually spend any money with this set up.
Once I had the instance provisioned, I installed tailscale based on their documentation
Configuring the tailnet
As an extra layer of security, I only wanted the VPS to be able to talk to the ingress-controller machine I had exposed in my cluster. This was super straightforward to do with tailscales ACLs.
Originally, everything was allowed to talk to everything else on my tailnet by default, which was obviously not the best practice. After setting up a few tags, it was easy to restrict access to the ingress controller.
Exposing Kubernetes services as tailnet machines
NOTE: If you’re not on Kubernetes, you can skip this section.
I deployed tailscale to my homelab here. Further details on installation can be found in the Tailscale documentation on configuring the tags and getting an auth key.
Once I had the controller installed, I created a service separate from the default service that comes with the controller manifest to use specifically for tailscale.
apiVersion: v1
kind: Service
metadata:
  name: ingress-nginx-controller-tailscale
  namespace: ingress-nginx
  annotations:
    tailscale.com/hostname: "ingress-nginx" # optionally set a hostname
    tailscale.com/expose: "true" # tells the operator to expose this service to the tailnet
spec:
  loadBalancerClass: tailscale # let tailscale own this resource
  externalTrafficPolicy: Cluster
  ports:
    - appProtocol: http
      name: http
      port: 80
      protocol: TCP
      targetPort: http
    - appProtocol: https
      name: https
      port: 443
      protocol: TCP
      targetPort: https
  selector:
    app.Kubernetes.io/component: controller
    app.Kubernetes.io/instance: ingress-nginx
    app.Kubernetes.io/name: ingress-nginx
  type: LoadBalancer # load balancer type required
I could then verify it was exposed by visiting my tailnet dashboard or viewing the service via kubectl
$ kubectl -n ingress-nginx get svc/ingress-nginx-controller-tailscale

NAME                                 TYPE           CLUSTER-IP     EXTERNAL-IP                                   PORT(S)                      AGE
ingress-nginx-controller-tailscale   LoadBalancer   10.43.23.100   100.65.13.80,ingress-nginx.tail18ac2.ts.net   80:32012/TCP,443:31782/TCP   15d
Next, we need to make sure we have an ingress resource defined for Plex that we plan to expose to the public internet later.
apiVersion: networking.k8s.io/v1
kind: Ingress
metadata:
  name: plex-public
  namespace: media
spec:
  ingressClassName: nginx
  rules:
    - host: plex.my-domain.com # externally exposed hostname
      http:
        paths:
          - path: /
            pathType: Prefix
            backend:
              service:
                name: plex
                port:
                  name: http
Configuring ACLs
I made two new tags, one for the VPS, and one for ingress-nginx.
If you want a similar set up, and you’re on Kubernetes your tags might look like..
"tagOwners": {
    "tag:k8s-operator": [],
    "tag:k8s": [
        "tag:k8s-operator",
    ],
    "tag:vps":           [],
    "tag:ingress-nginx": [],
}
If you’re not using Kubernetes, you don’t need the k8s-operator or k8s tags.
Next, I configured the VPS tag so that it can only talk to the ingress controller
"acls": [
    {
        "action": "accept",
        "src": [
            "tag:vps",
        ],
        "dst": [
            "tag:ingress-nginx:80",
        ],
    }
]
Finally, we need to make sure that k8s tags can talk to other k8s tags.
I also added a configuration to allow my laptop to talk to any machine as well.
{
    "tagOwners": {
        "tag:k8s-operator": [],
        "tag:k8s": ["tag:k8s-operator"],
        "tag:vps": [],
        "tag:ingress-nginx": [],
        "tag:laptop": []
    },
    "acls": [
        {
            "action": "accept",
            "src": ["tag:vps"],
            "dst": ["tag:ingress-nginx:80"]
        },
        {
            "action": "accept",
            "src": ["tag:k8s"],
            "dst": ["tag:k8s:*"]
        },
        {
            "action": "accept",
            "src": ["tag:laptop"],
            "dst": ["*:*"]
        }
    ]
}
Finally, make sure to add the correct tags to your machines. The above ACLs mean my machines need to be tagged like so to work:


Creating a DNS record
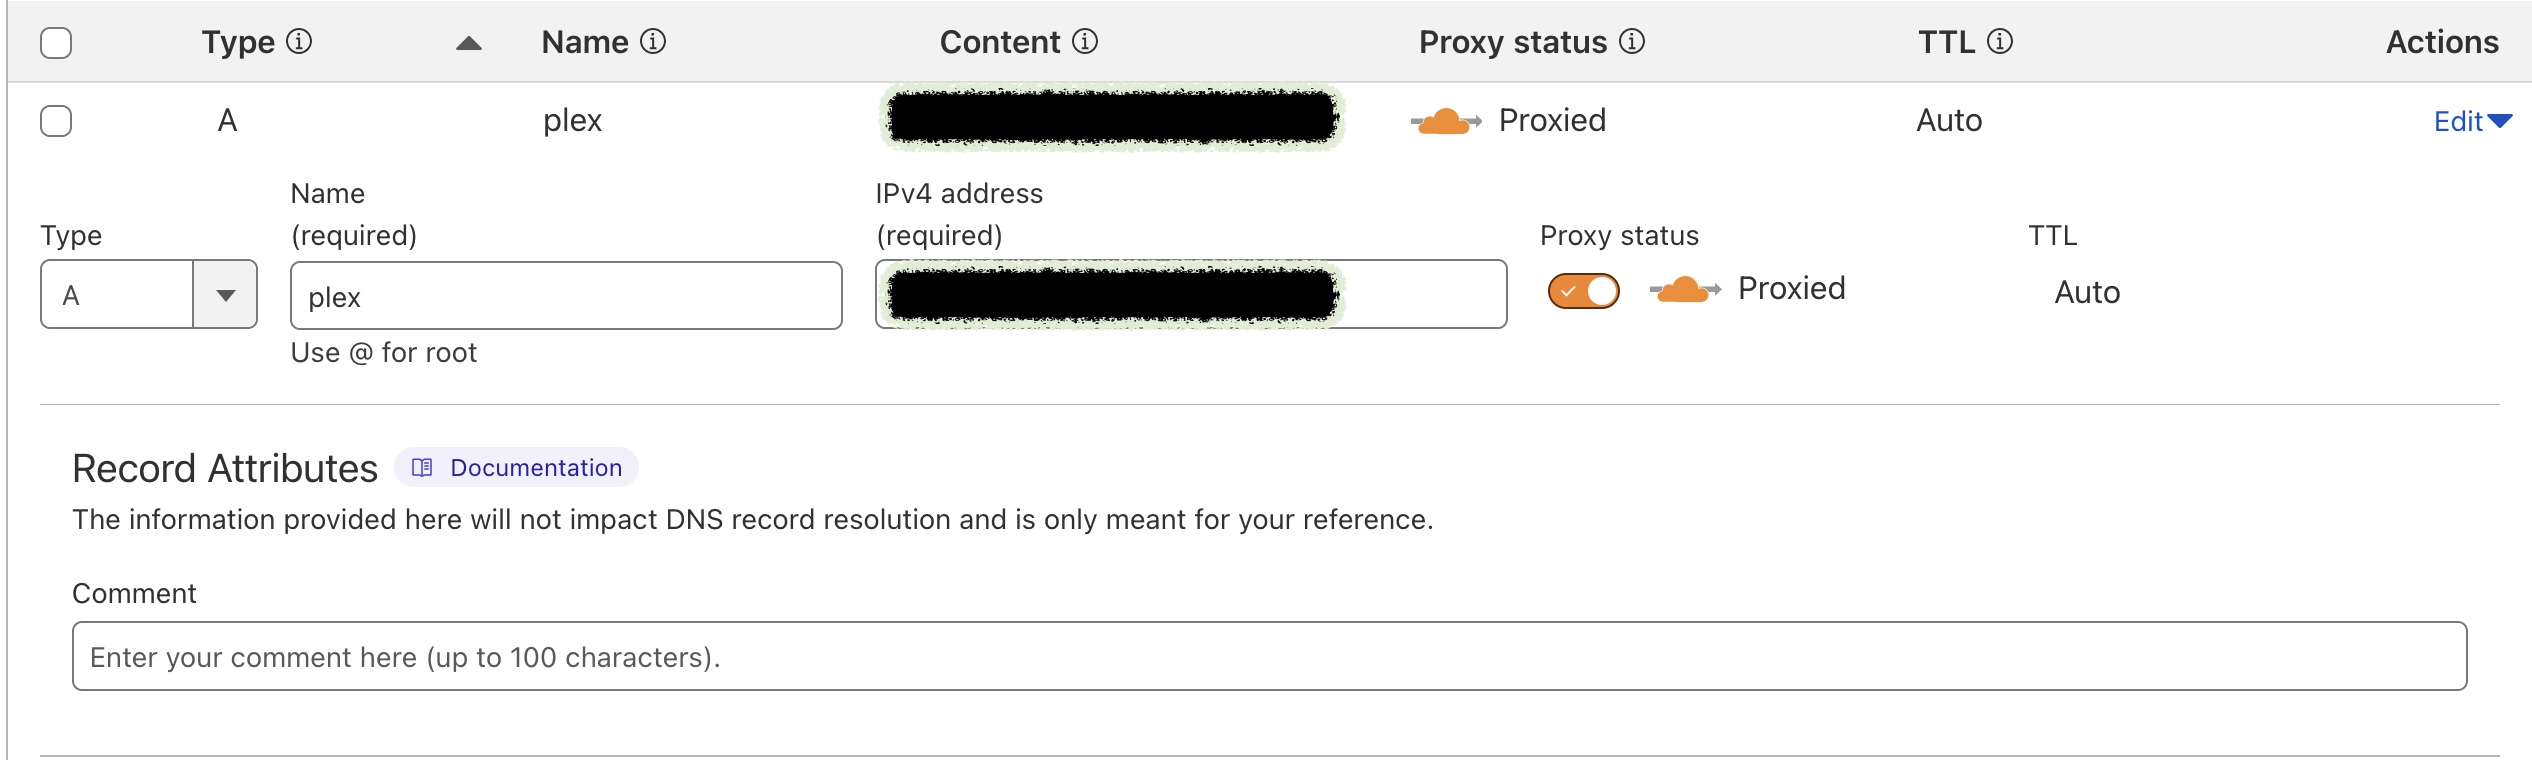
Given that I already use cloudflare tunnels, I used cloudflare to create a DNS record to point my plex.my-domain.com to the IP address of my VPS.
To do this, I created an A type record with a name of plex, and then used the public internet IP address of my VPS as the IPv4 Address.
The reverse proxy
We now need to set up the reverse proxy to forward traffic to our ingress-controller for Plex. I chose Caddy, but any other reverse proxy should work just fine.
See install instructions here
Once Caddy is installed, we need to configure the reverse proxy. This is done by editing a Caddyfile.
On my VPS, this lives at /etc/caddy/Caddyfile.
Mine looks like the following - but with a real domain.
plex.my-domain.com {
    reverse_proxy ingress-nginx:80 {
        header_up X-Forwarded-Proto {scheme}
        header_up X-Forwarded-Host {host}
        header_up X-Forwarded-Port {server_port}
    }
}
Let’s break it down:
- The ingress-controller hostname is
ingress-nginxin tailscale using MagicDNS - The Kubernetes service for
ingress-nginxis listening on port 80 plex.my-domain.comwill be the set as theX-Forwarded-Hostthat ingress-nginx will consume- An ingress resource exists with a host
plex.my-domain.comthat forwards trafic to the plex service
Once the Caddyfile changes were made, I was able to reach my plex instance at plex.my-domain.com
Closing Thoughts
This is a lot of setup to get this to resolve, but it was a great learning experience that achieved several goals:
- Exposed Plex to the internet without port forwarding at home
- Maintained a single ingress point for all Kubernetes services exposed
- Kept the setup relatively simple with Caddy as the reverse proxy
The nice thing about this setup is that it’s not Plex specific - you could use the same pattern to expose any other service running in your homelab.
The combination of Tailscale, Caddy, and Kubernetes provides a robust and secure way to expose your homelab services to the internet while maintaining fine-grained access control.